Email Address Verification
Introduction
Email verification is a vital security step that ensures the user has access to the email address they provided during sign-up. The purpose of this document is to guide engineers through the process of setting up and customising the email verification process within Auth0.
Pre-requisites
You should have already:
- Set up the new tenant in Auth0
The verification process
Email address verification is automatically triggered by Auth0 after a user has been created. An email will be sent to the address provided at user creation, which includes a link.
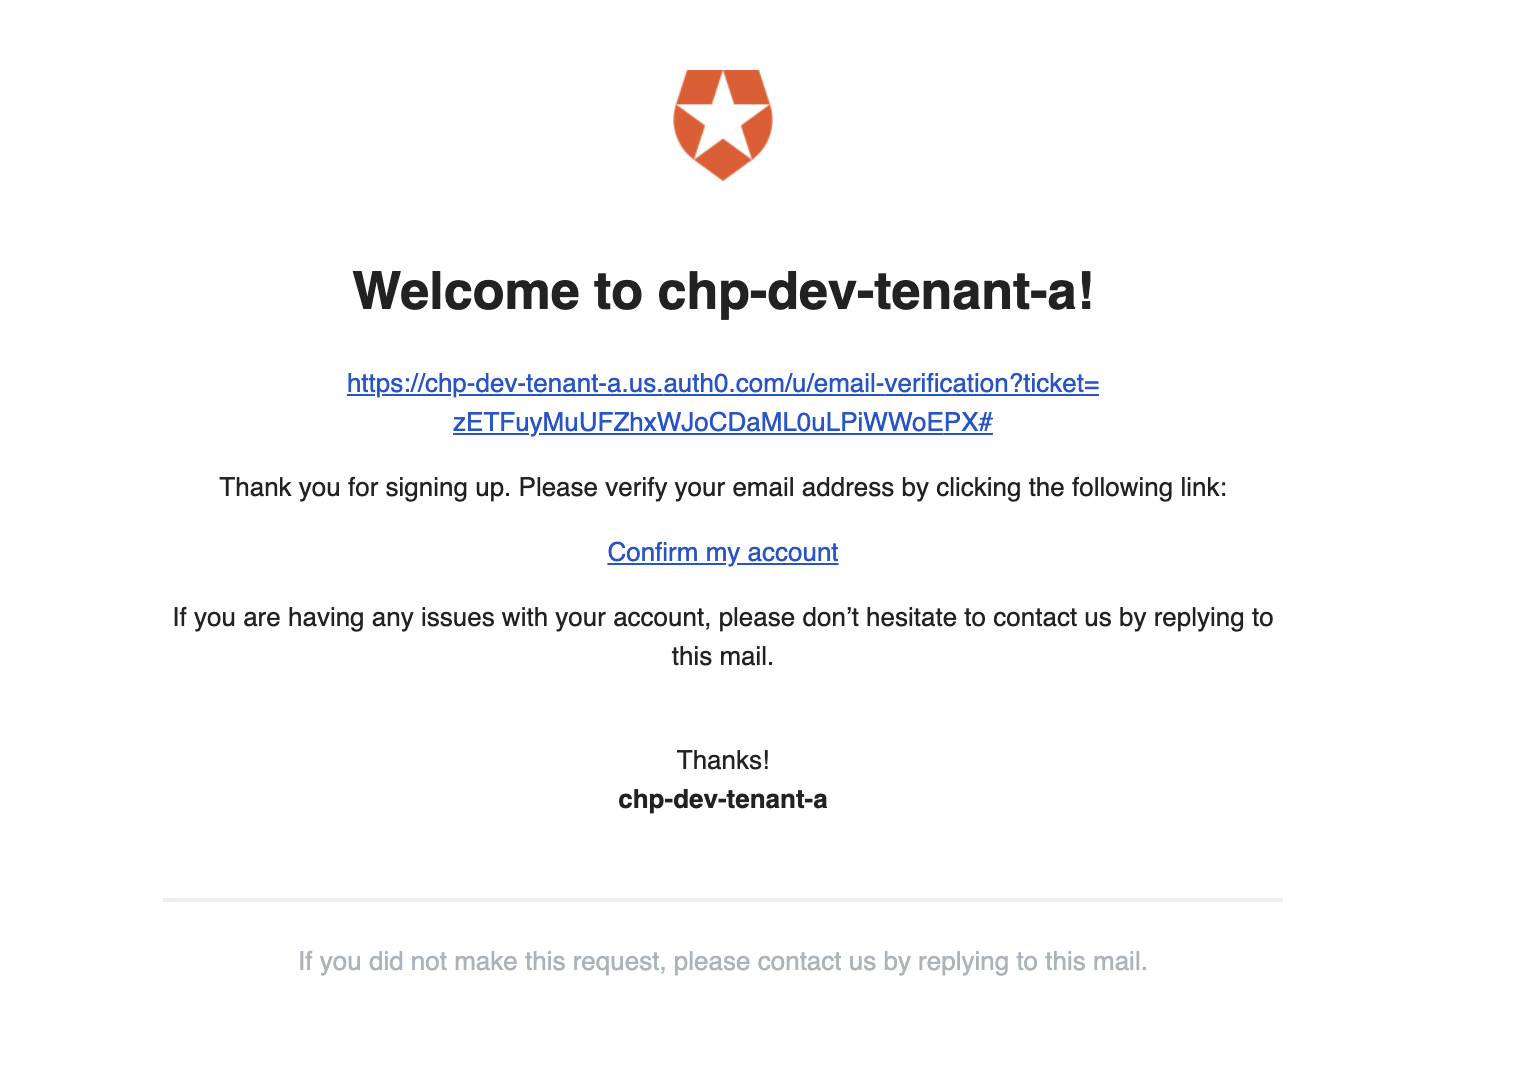
This link, when clicked on, will flag the the user's email as being verified. The user will be then be redirected to the URL that has been configured within Auth0.
Verification template configuration
There are a number of settings that need to be configured inside Auth0 in order for the verification email to be sent. The below image shows what the settings page will look like after tenant creation:
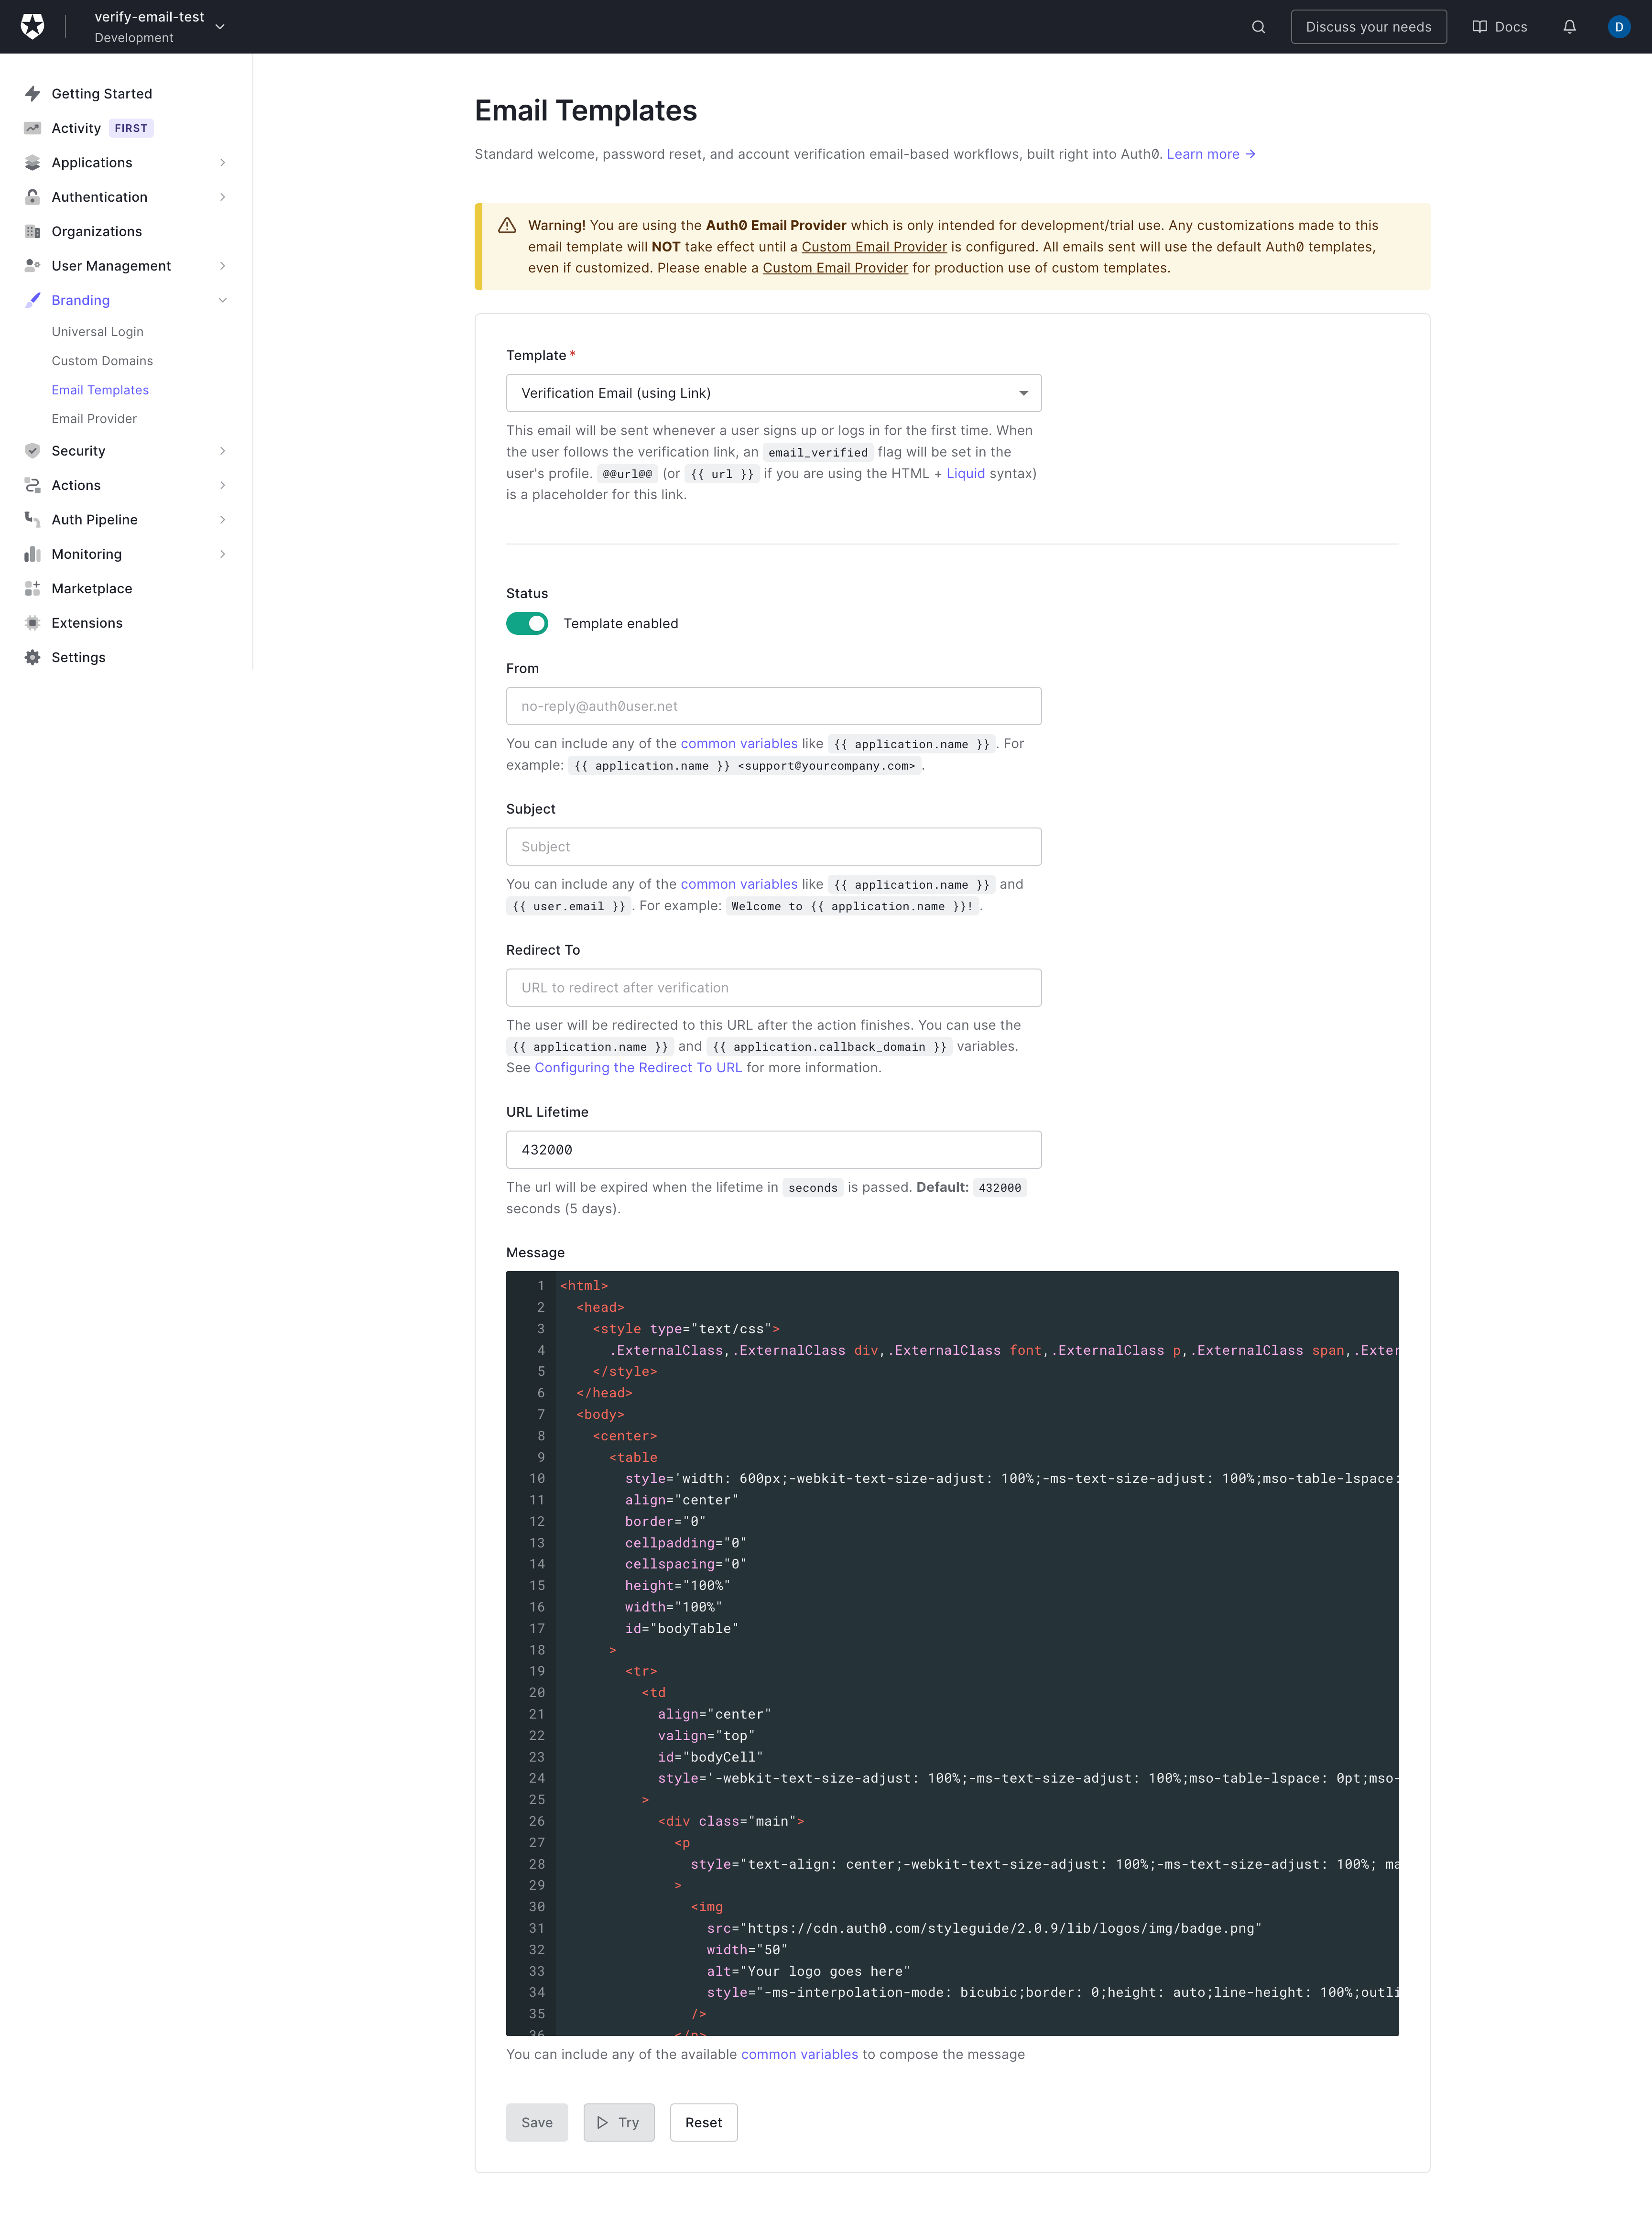
This page can be found within the Branding -> Email Templates section of the Auth0 Dashboard. Within the template dropdown ensure the "Verification Email (using Link)" template is selected. Here the following can be configured:
- Status
- Whether the template is enabled. Disabling this means no verification emails can be sent out.
- From
- The address that will be displayed as the "from" address in the recipient's email.
- Subject
- Text that will form the subject of the email.
- Redirect To
- See Client redirects
- URL Lifetime
- The verification expiration time in seconds. We do not recommend exceeding the default (
432000seconds, which is 5 days)
- The verification expiration time in seconds. We do not recommend exceeding the default (
- Message
- HTML of the verification email template which can be configured. Common variables can be found in the Common Variables section of the Auth0 docs.
- The
user.namefield will be set to the value of the userscontactName, if one has been set.
- The
- HTML of the verification email template which can be configured. Common variables can be found in the Common Variables section of the Auth0 docs.
Disallowing login from unverified users
We recommend not allowing unverified users to log in and use your application, due to potential security issues.
This can be achieved through Auth0 Actions & Flows, specifically the login flow.
Within Auth0, selecting Actions -> Library will take you to a page from which you can build a new custom action.
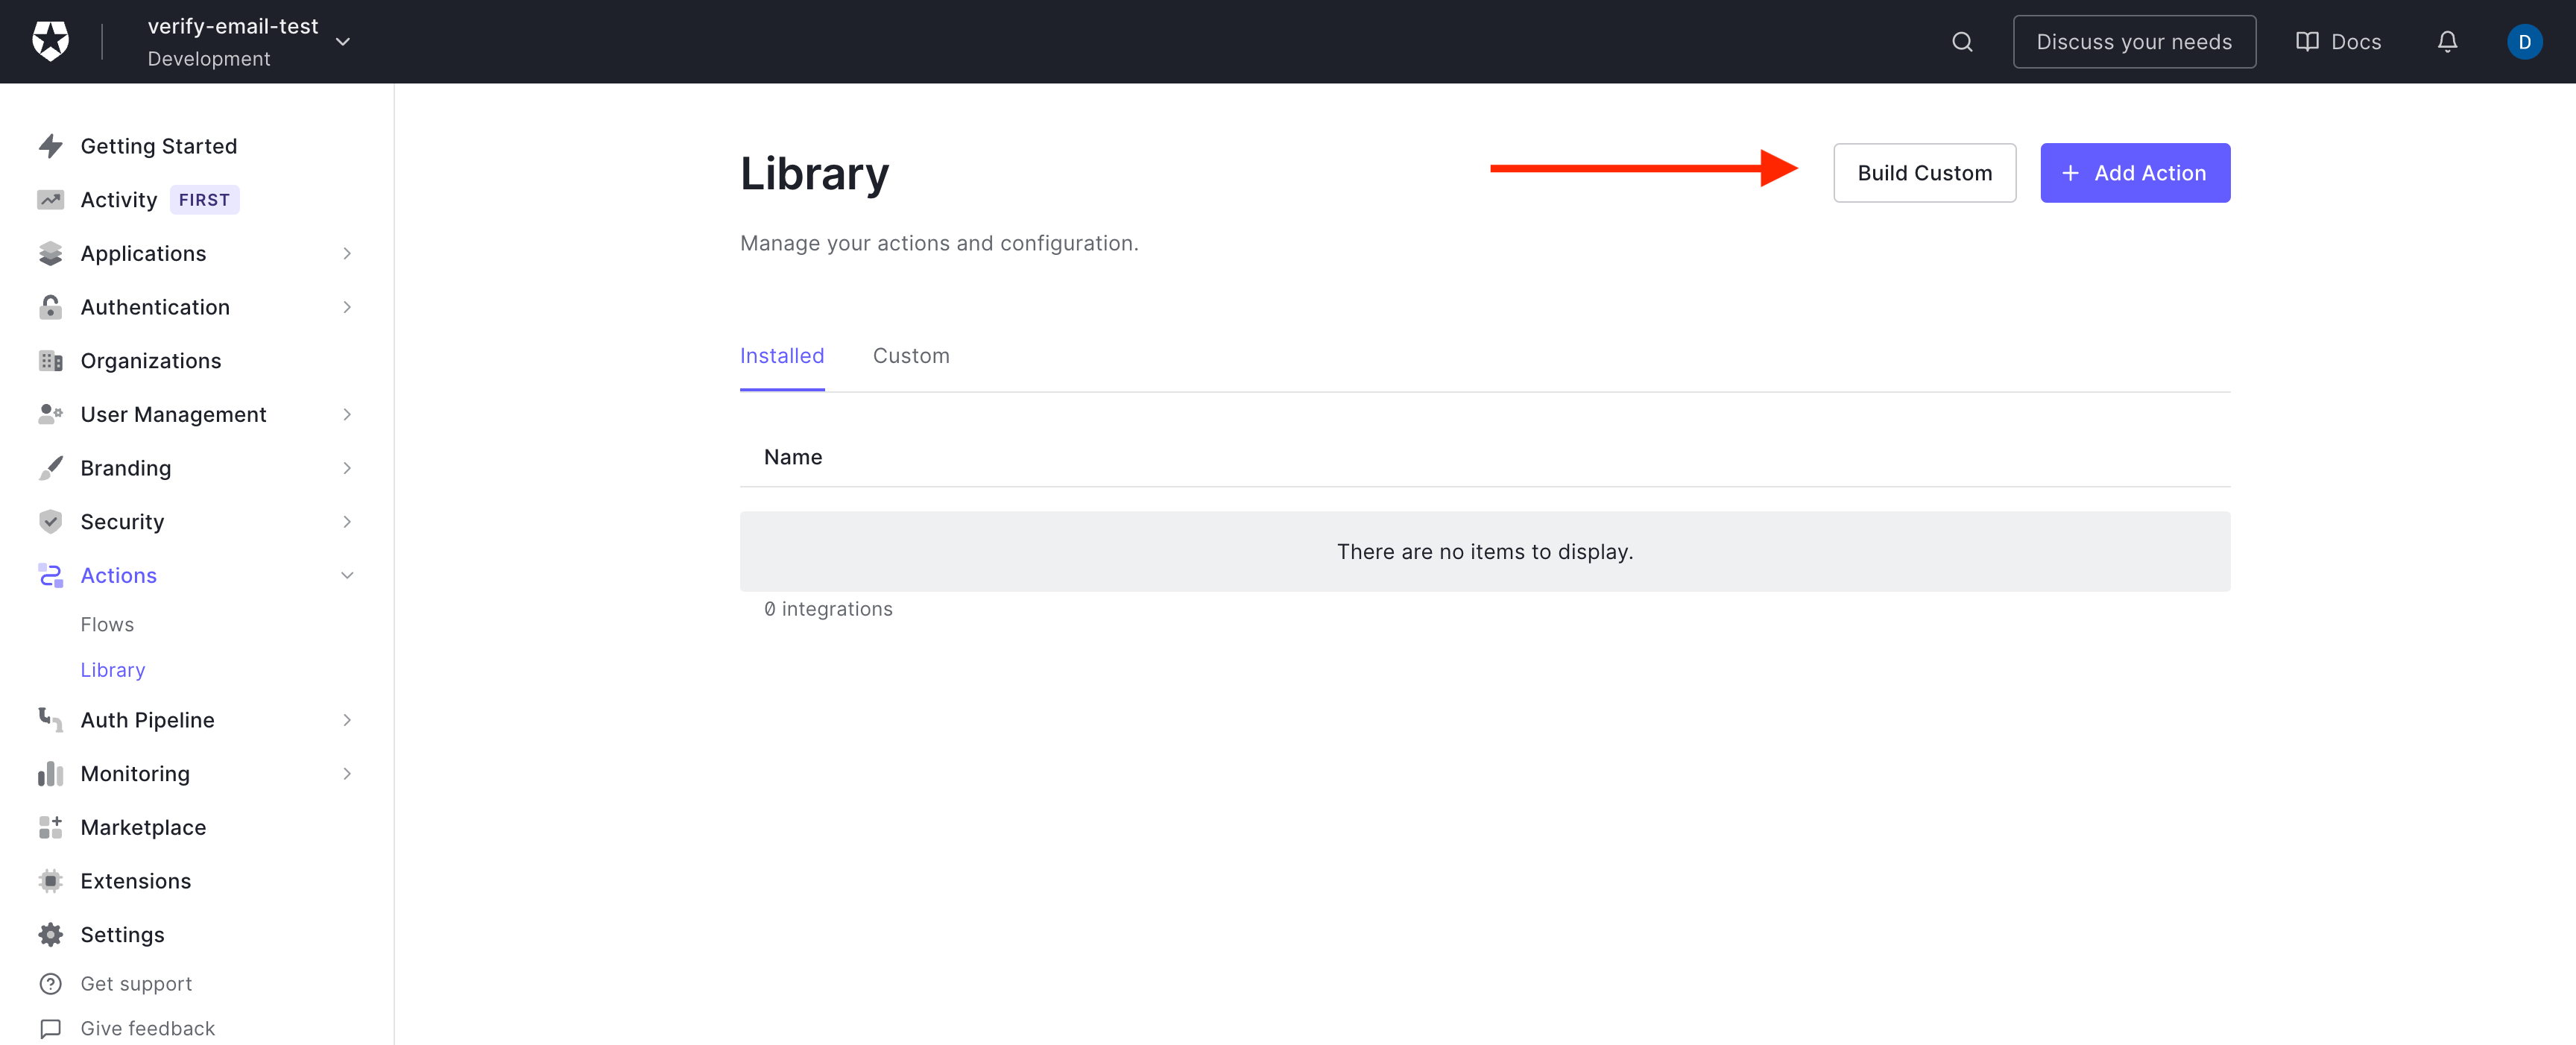
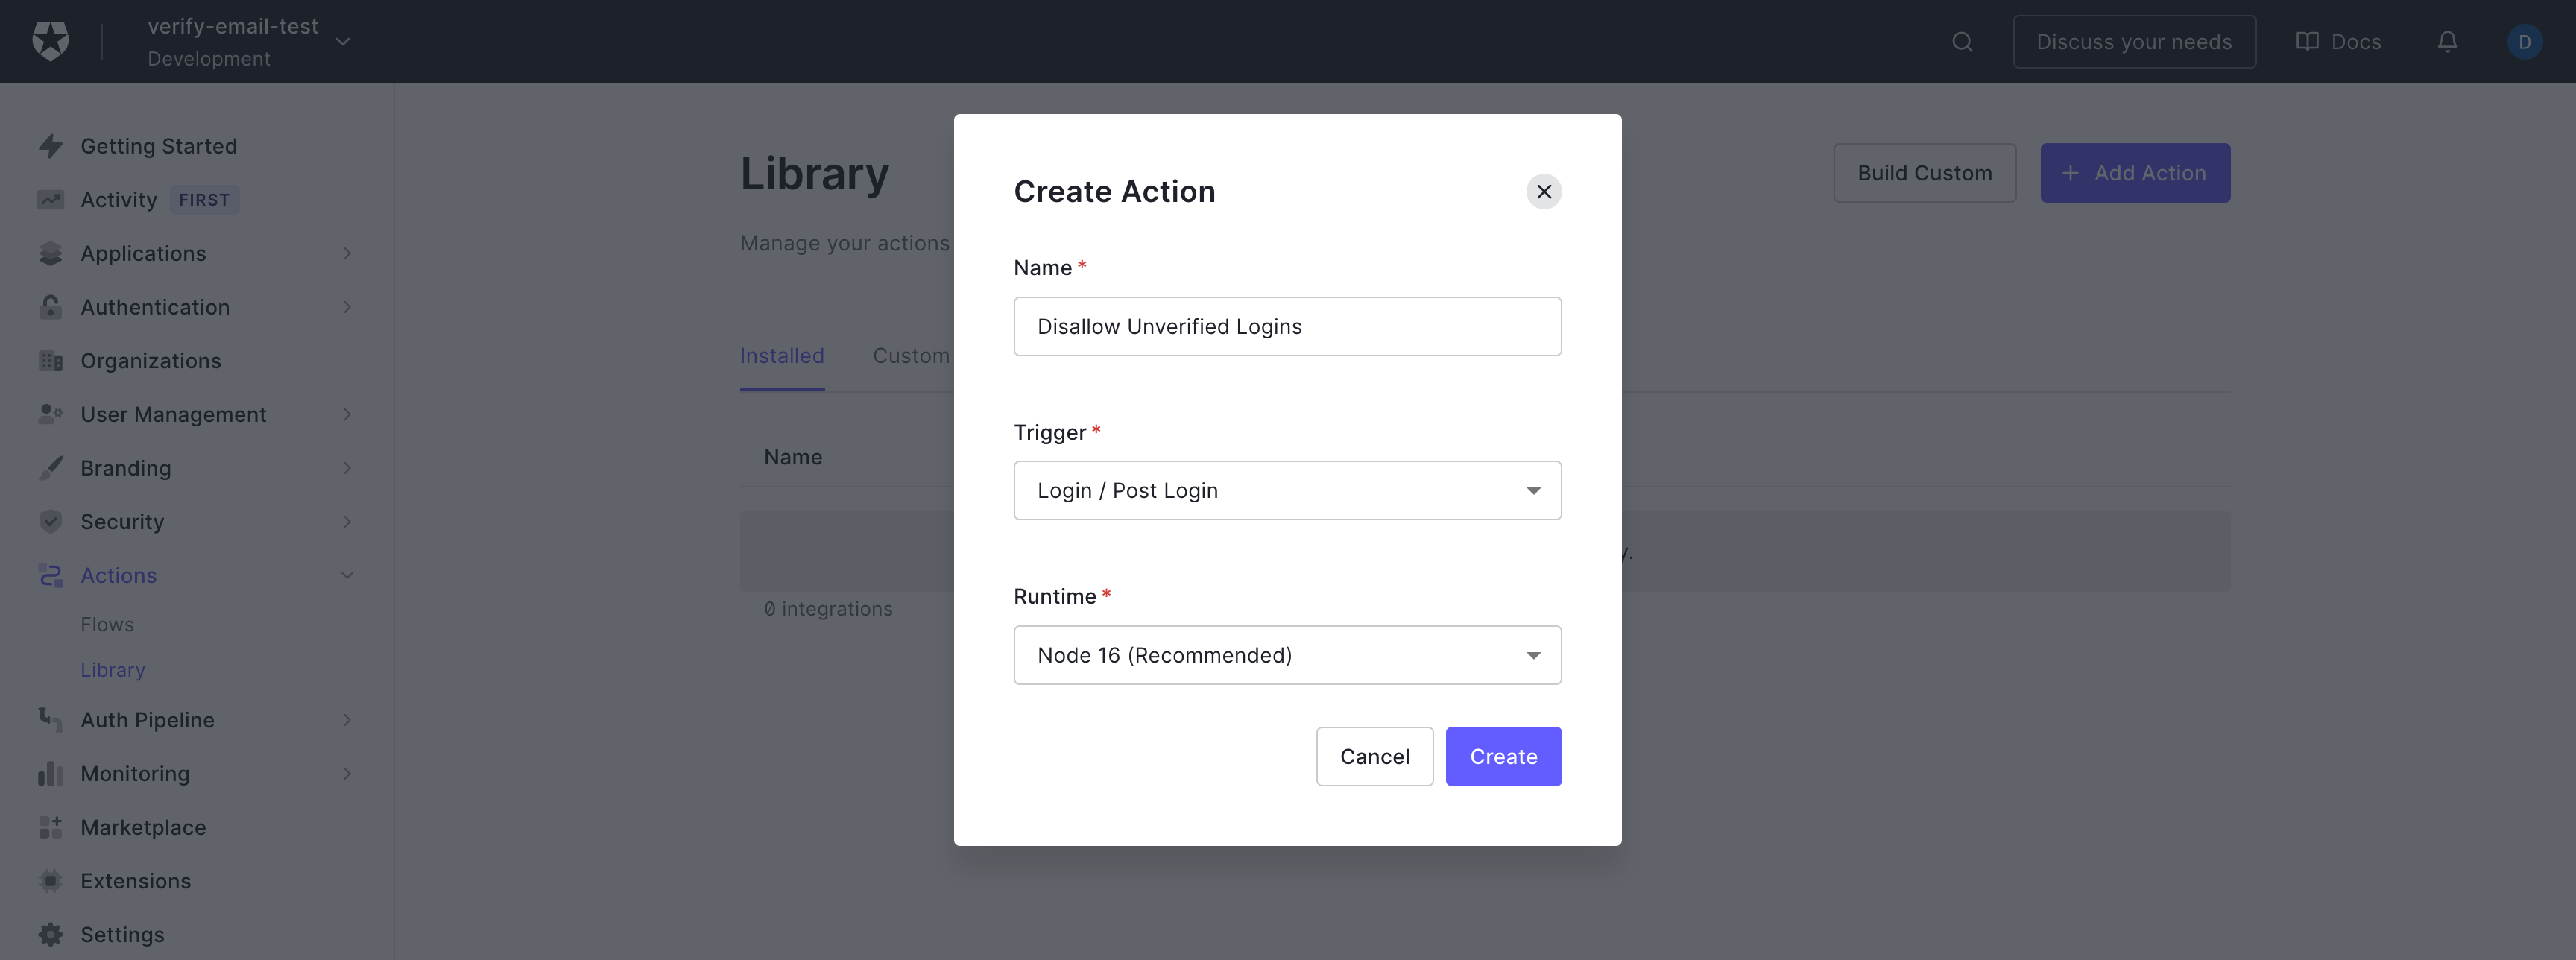
Clicking the 'Build Custom' button will bring up a modal, where you can enter the name of the action, the trigger (should be "Login / Post Login") and the runtime. Do not use Node 12 runtime.
You will then see a code editor for the action. A simple example is included below that checks the email_verified flag on the user, and denies access if the value is not true.
exports.onExecutePostLogin = async (event, api) => {
  if (!event.user.email_verified) {
    api.access.deny('You must verify your account in order to login!');
  }
};
Once you have added the code to the action, click the 'Deploy' button. You can now add this action to the Login flow.
Still inside Auth0, navigate to Actions -> Flows, then click the 'Login' flow.
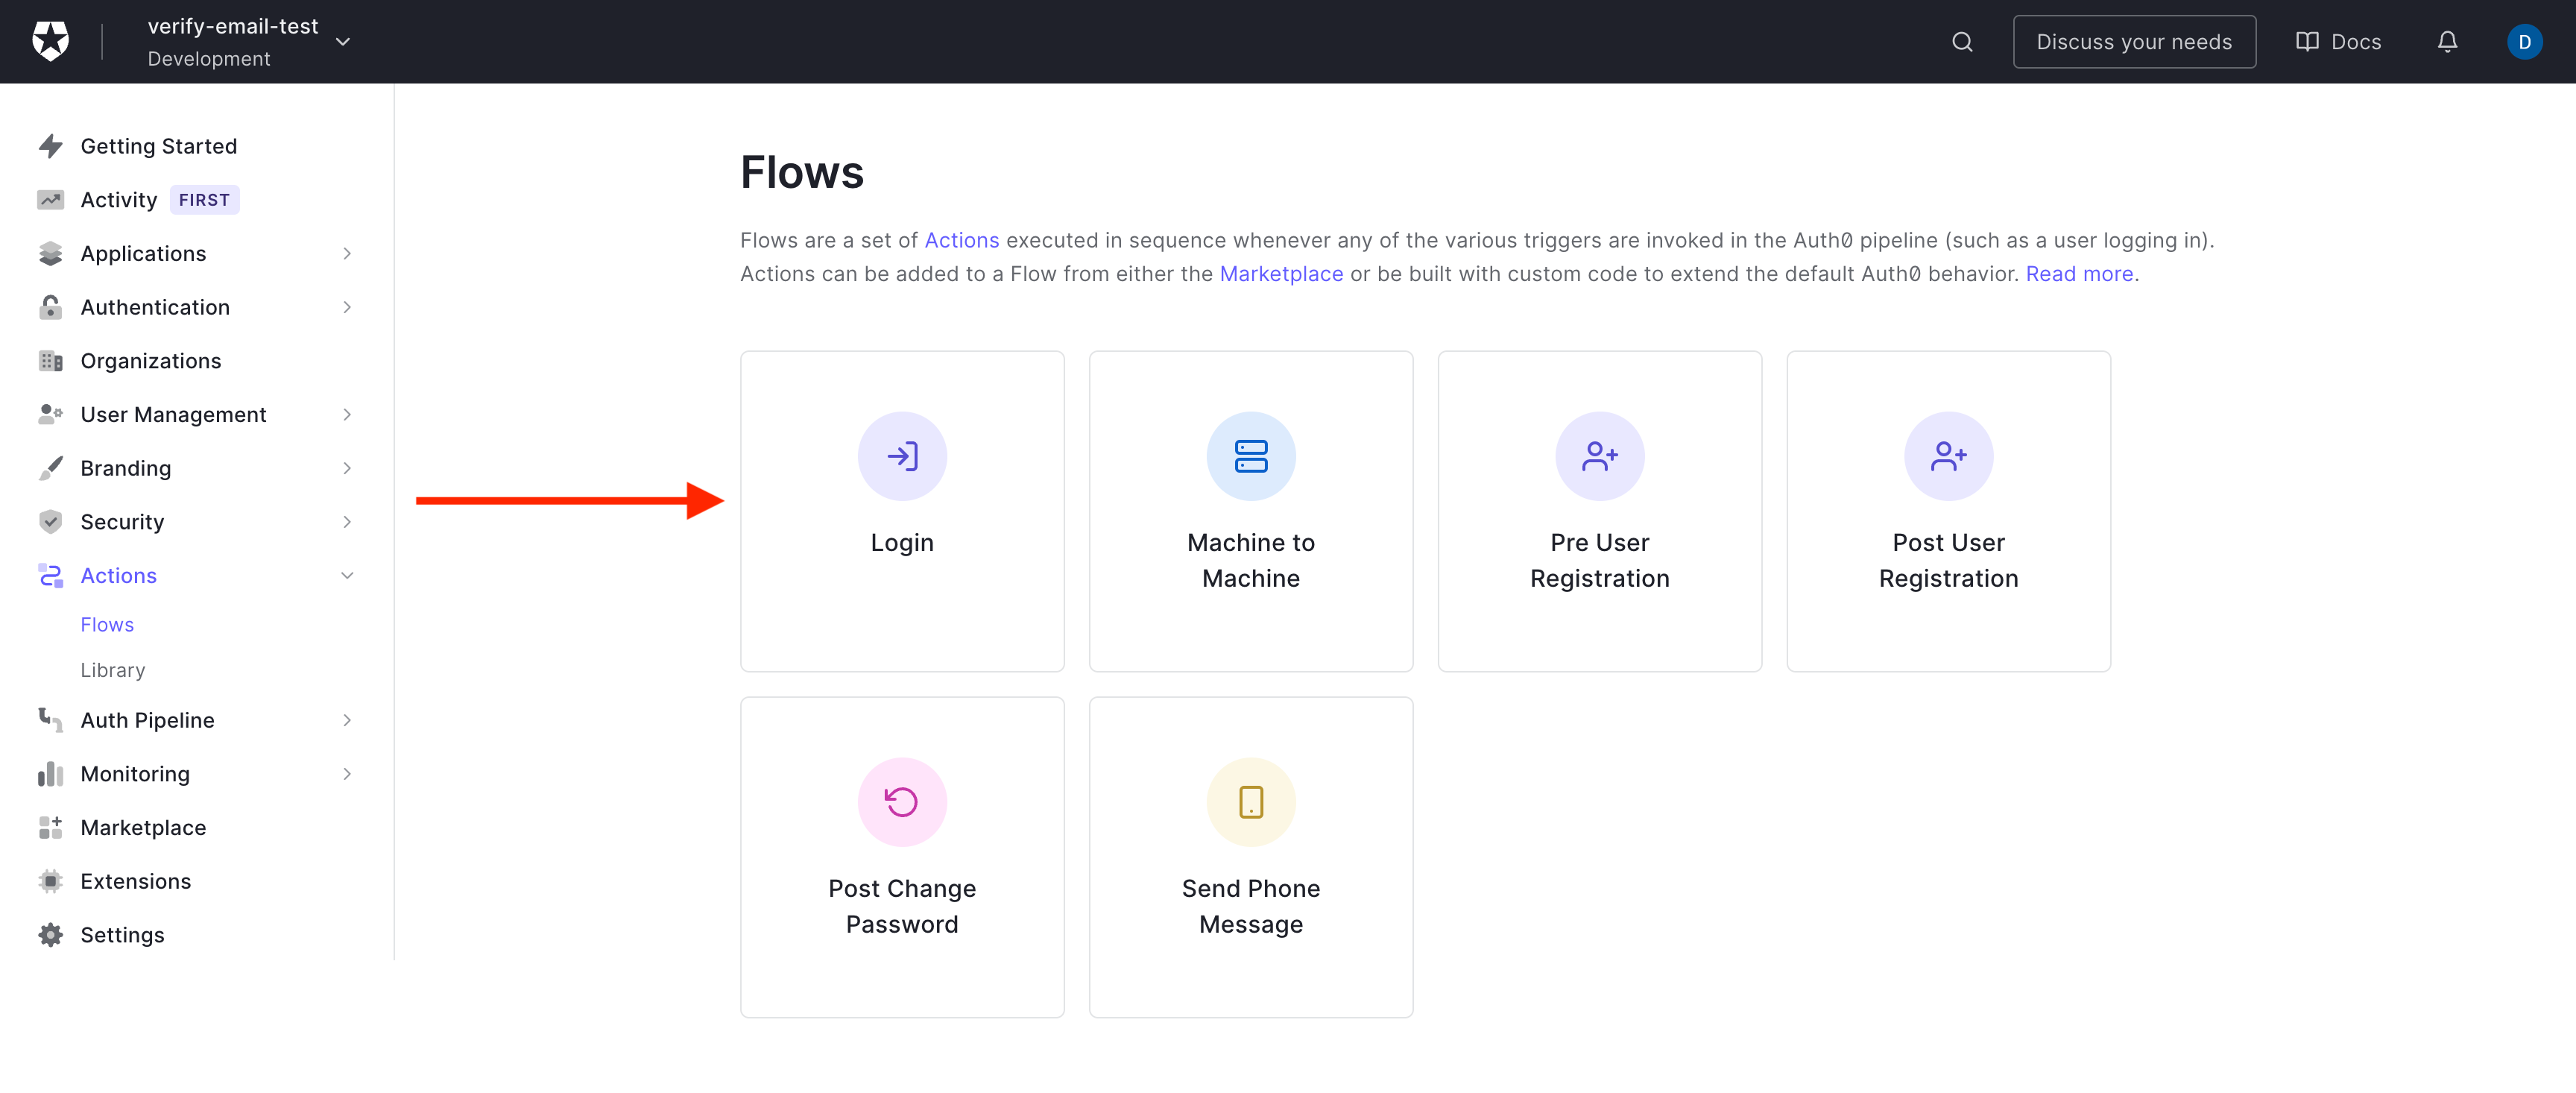
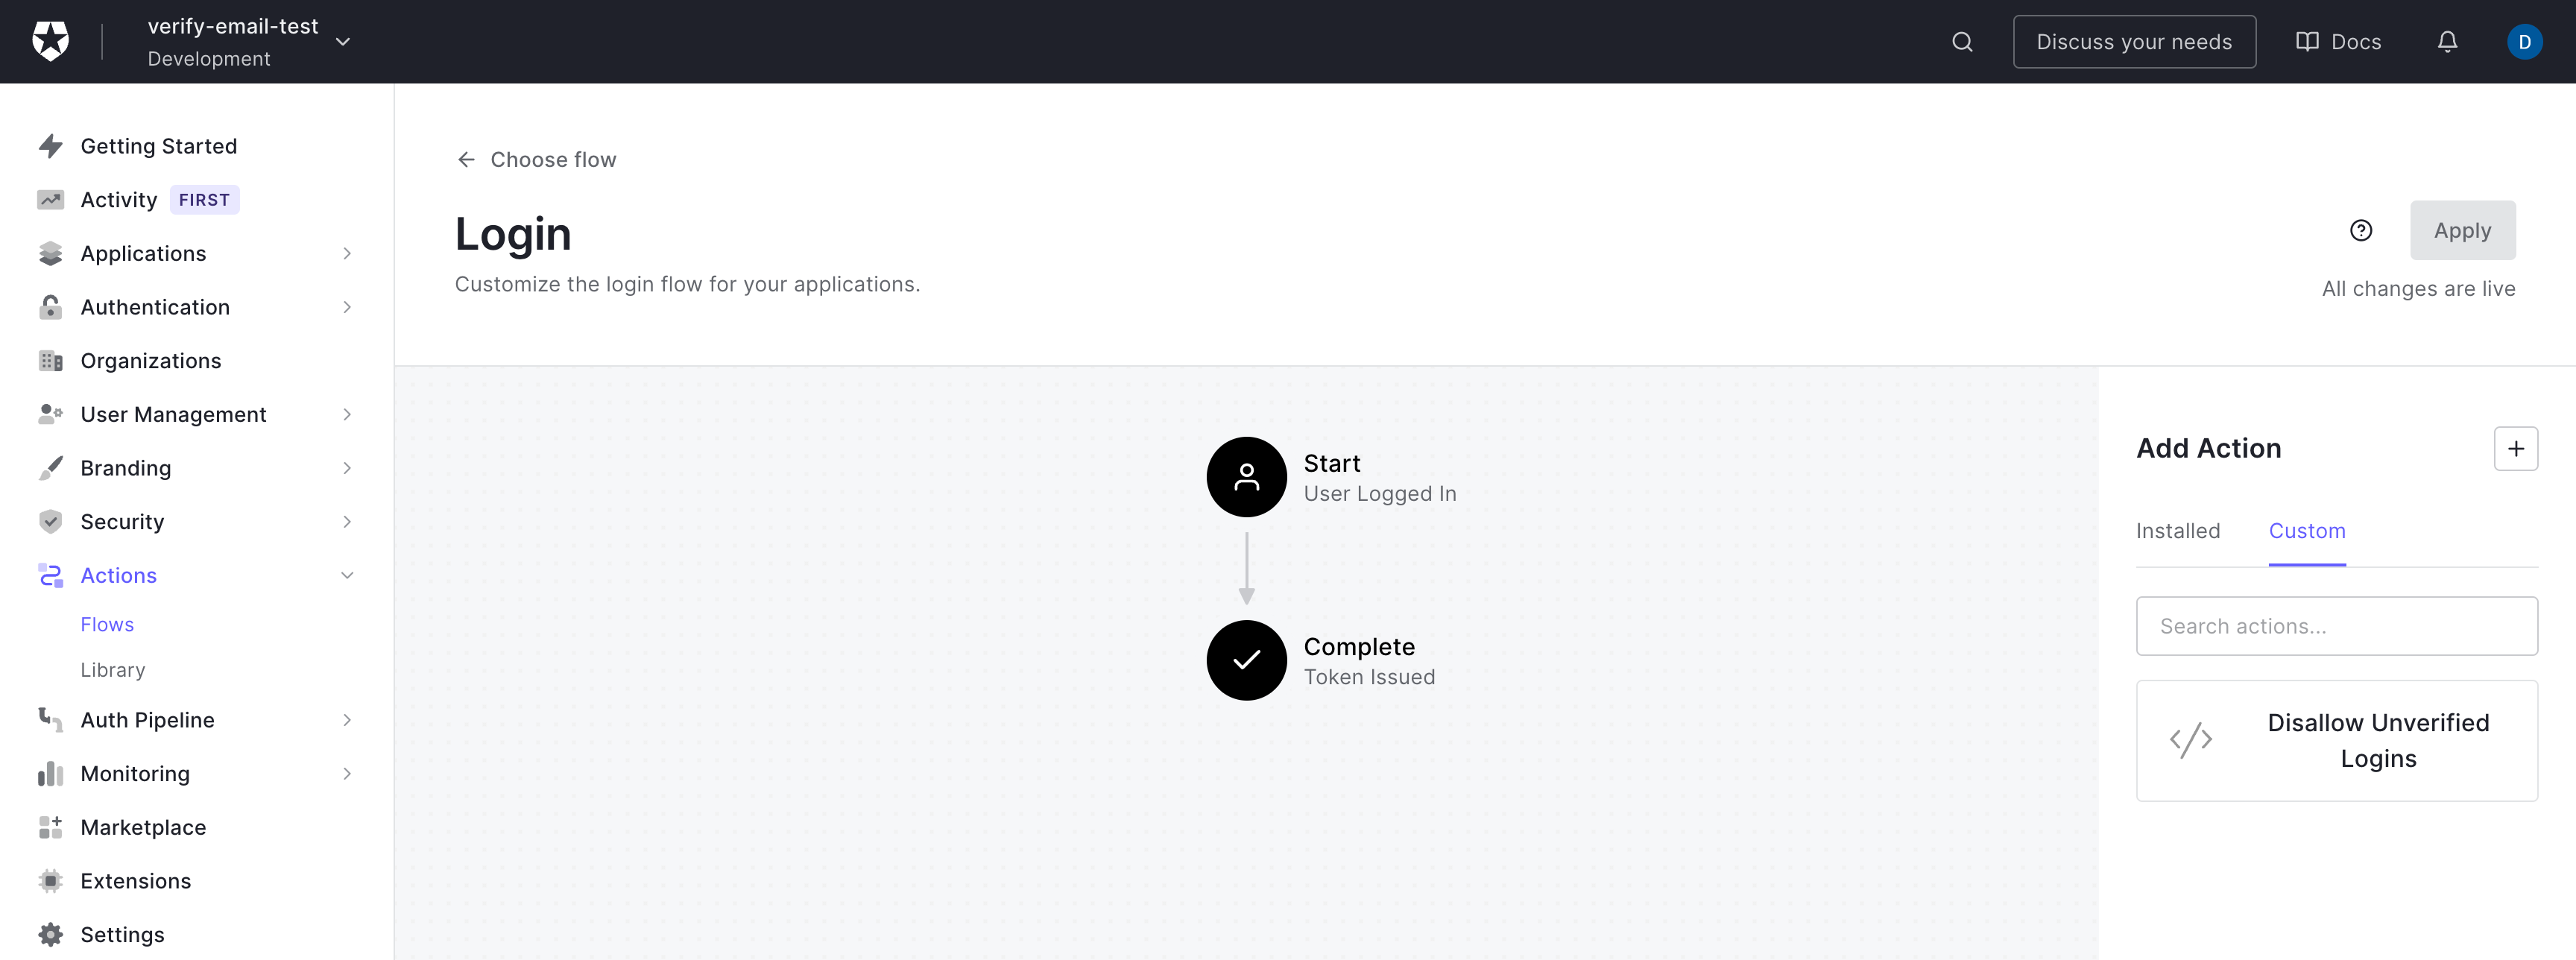
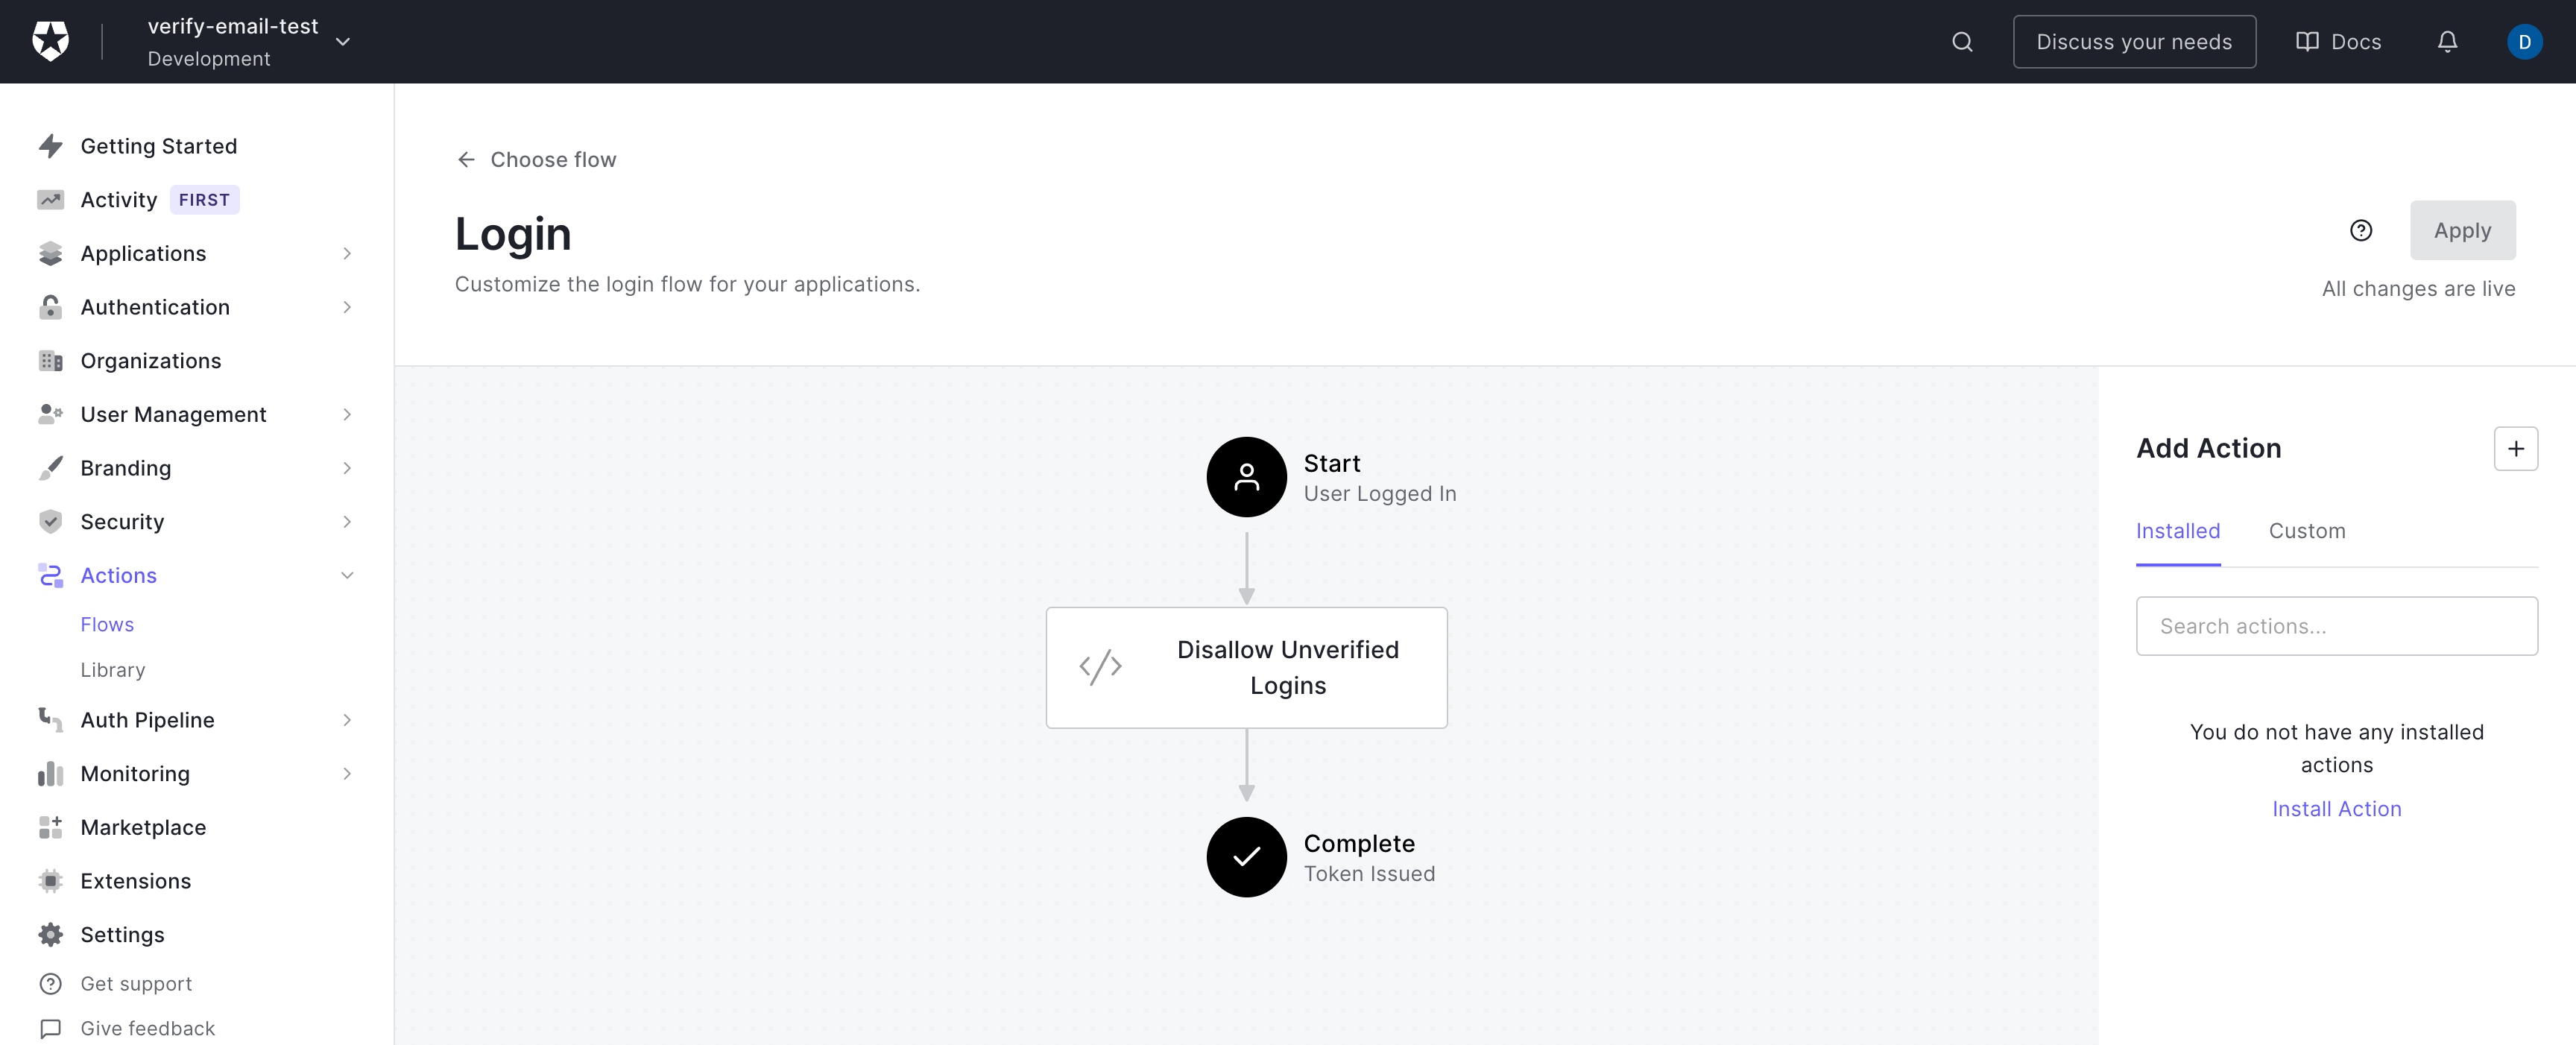
This will bring you to a screen displaying the current flow (which should just be 'Start' and 'Complete'). Clicking the 'Custom' tab on the right hand side under 'Add Action' will display your newly created action. This can be dragged and dropped into the flow.
Click 'Apply', and the flow will update. Your action will now run everytime a user attempts to log in.
Client redirects
After email verification, the user will be redirected to the URL set within the "Redirect To" configuration which should take the user to a landing page that includes a message to let the end user know their email was verified successfully and that they can log in. For example {yourAppURL}/verify-email
Troubleshooting
| Problem | Suggested Solution |
|---|---|
| Verification email not being sent | Ensure that the email template status has been toggled 'on' inside Auth0 |
| Verification email not received | Ensure you have checked your junk folder or contact IT provider |